
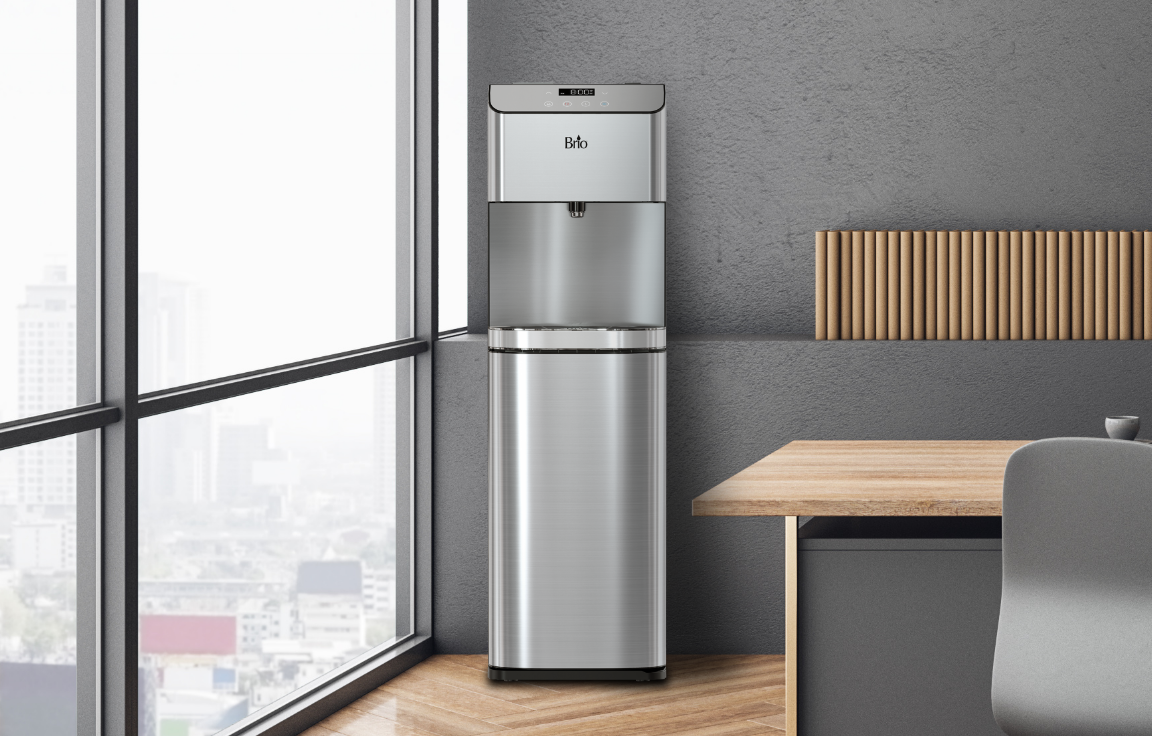


Now you’ve installed a Brio bottleless cooler, you’re used to pure, clean and fresh water on demand. It’s easy to use. You never have to refill it. And you can drink with confidence, knowing your water’s free from harmful, potentially dangerous contaminants.
But spare a thought for the hard-working filters. We’ve created powerful filters that remove most harmful contaminants and impurities. They are incredibly efficient at removing impurities and pollutants before they find their way into your drinking water. But to keep your water supply fresh, they need to be replaced regularly.
We’ll let you in on a little secret: changing the filters on your bottleless cooler is easier than you think. And we’re here every step of the way. Here’s everything you need to know about replacing your Brio water filters so you can continue to access clean, purified water for years to come.


How often should water filters be replaced?
We recommend replacing your filters every six to 12 months, but it depends on your water habits. Is your cooler in a bustling office? Six months it is. If it’s a home affair for one or two people, stretch it to 12.

Should you always follow Brio guidelines for replacing filters?
Brio offers general guidelines as to how often filters should be replaced. The emphasis here is on the word “general.” How often you should change your filters has a lot to do with the quality of your source water and how often you and your family dispense filtered water.
Most Americans who live in urban and suburban areas get their water from municipal water systems, which are typically well maintained.
People who live in rural areas tend to use private wells for their water source. Upkeep and cleanliness of private wells are the responsibility of the well’s owner.


What happens if I don’t change my water filter?
Not changing your water filter can prevent it from functioning at optimum capacity. Either the polypropylene, activated carbon, or semipermeable membrane (or all three) have reached or are reaching their maximum saturation levels.
When that happens, the entire filtration system becomes less efficient and must work harder. The dispensing will slow down, water pressure will decrease and energy bills will go up.

Even worse, your system will be unable to completely remove pollutants, which will wind up in your water.
How to tell if you need to change your filters
Keeping track of the lifespan of your water filters can be troublesome without obvious signs that your cooler needs maintenance. However, on some of our water coolers, we’ve developed technology to track the lifespan of your filters for you.
To avoid a guessing game when it comes to filter replacement, Brio offers both coolers and filtration systems that conveniently alert you as to when your filters need to be replaced.
The filter replacement indicator light makes it very easy to know when your cooler requires filter replacements. Located on the display panel of select coolers, such as the Brio Moderna Tri-temp 3-Stage Point-of-Use Water Cooler w/ UV Self-Cleaning, the light comes on towards the end of the cartridge lifespan.

Brio water filters: subscribe and save
Another sign your filters need to be replaced is new filters showing up at your door! You can save both money and time with Brio’s replacement water filter subscription service.
Replacing your water filters keeps your dispenser functioning at its best and ensures the water you’re drinking is of the highest quality. With a Brio subscription, you can save 20% on all replacement filters and guarantee receiving them every three, six or nine months. So you don’t have to worry about remembering how long your filters have been in use!

Simply search for the appropriate filter for your cooler and hit 'subscribe'. You can modify or cancel your subscription anytime – you’re in control. Peace of mind and clean, pure water on tap.
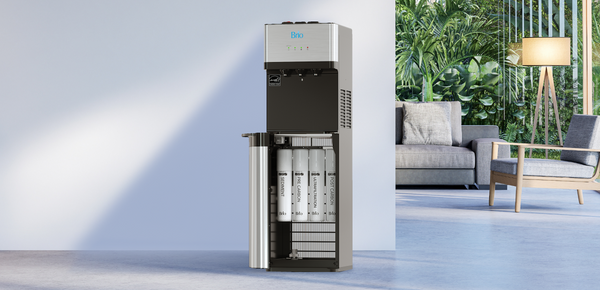
How to change your Brio water filters
Brio offers user-friendly filter replacement systems with quick-connecting, twist-on cartridges that allow for quick removal and installation of your cooler’s water filters. Although the process to change your Brio filters differs slightly from model to model, the process is generally the same.
After you order and receive the appropriate filter set for your model, it should take fewer than 10 minutes to replace the old set with the new one. For a more thorough step-by-step guide for your specific model, please read through the user manual found on each product listing page.
How to change water filters on your bottleless water cooler

Step 1: Shut off your home’s water supply
Before removing any components from the bottleless water cooler, locate your home’s water supply and turn it off. It’s usually a knob you can twist under your sink. Turning off the water source ensures a seamless and mess-free filter replacement process. And no tools are needed!
Step 2: Open the cabinet door of your cooler
This may vary depending on which one you have.
Step 3: Remove the filters from your bottleless cooler
Gently but firmly turn the used filters counter-clockwise to remove the cartridges from the water dispenser. Perform this action for every filter cartridge on your Brio Water Dispenser.
Step 4: Dispose of your old filters
Once you’ve removed them from your bottleless cooler, discard your old filters in the garbage.
Step 5: Flush your filters
You’ll then need to run water through your filters to remove any surplus carbon particles. If you don't, you may see small black particles in your cold water tank or water. They aren't harmful, but it's easy to prevent them. Please note that our reverse osmosis and ultrafiltration membranes should not be flushed.
Here’s a step-by-step guide to flushing your filters:
- Detach the shut-off valve tube from the cooler (this is why it's important to shut off the water supply to the cooler).
- Now attach one of the new filters to the filter housing by twisting it in clockwise.
- Connect the free tip of the shut-off valve tube to the left side of the housing.
- Connect one end of the flushing tube to the other side.
- Make sure the free end of the flushing tube is routed into a sink or bucket.
- Now turn on the water.
- Flush water through the filter for about five minutes. If you're flushing a carbon filter, flush it until the water runs clear.
- Don't forget to turn off water before removing the tube from the flushing tube.
- Reinsert shut-off valve tube into the cooler.
- That’s it!
Step 6: Install your new filters
To install your replacement filters, starting with Stage 1 and working towards Stage 4 in order, twist the cartridge clockwise until it's secure.
Step 7: Restore the water supply
You may need to wipe up any remaining water from drips that occurred during the removal and installation process. When all the replacement filters have been securely installed, turn on the water.
Whether you’ve opted for a 2-stage cooler or 4-stage reverse osmosis dispenser, the steps dance to the same beat. Here’s to hassle-free filter changes, keeping your hydration game strong, your water pure, and your cooler forever in its prime.


